
Gluten-Free Bagels
adapted from Free Eats Food

2 cups Sweet Superfine Rice Flour
1 cup Tapioca Flour
2/3 cup Potato Starch (not potato flour)
1/2 cup Teff flour
1 tablespoon active dry yeast
2 teaspoons guar gum
2 tablespoons light brown sugar, packed
1 3/4 teaspoons sea salt
2 eggs + 2 yolks
1 tablespoon canola oil
1 1/3 cups warm water
To Finish:
12 cups water
¼ cup granulated sugar
1 tablespoon baking soda
Place the dry ingredients (gluten-free flours, starches, yeast, xanthan gum, brown sugar, salt, and yeast) in the bowl of your standing mixer. Or in a large mixing bowl if using a hand mixer.

With the paddle attachment, slowly mix ingredients for 30 seconds.

Set aside.

Add the wet ingredients to the dry ingredients in the mixing bowl and with the paddle attachment, mix for 2 minutes on medium-high speed. 

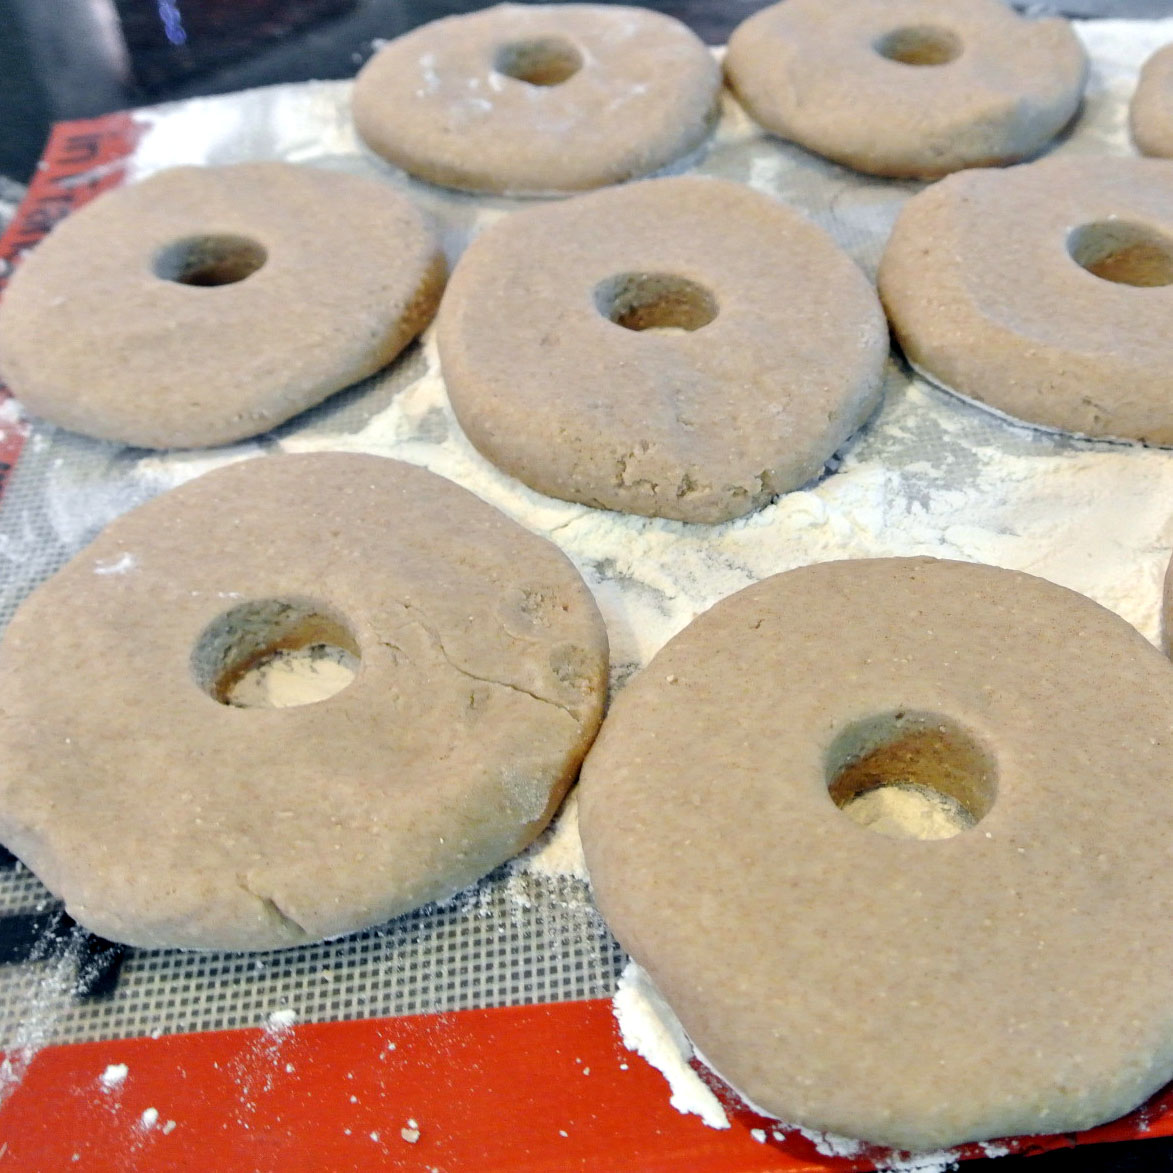
Plop 1/2 cup of dough at a time onto a counter or silpat that has been lightly dusted with rice flour.
Making a cupped shape with your hand, roll the dough in a quick, repetitive, circular motion to create a smooth, rounded ball of dough.
Press the dough down a bit to help make a flattened “bagel shape.”

Then cut a hole in the center with a small cylinder cutter, or use your finger if you don't have a cutter.

After shaping, move each bagel to a sheet pan that has been lined with lightly oiled parchment paper or a silpat mat.
Gently drape the bagels with oiled plastic wrap and allow them to rise in a warm, 80 degree place for approximately 1 1/2 hours.

I put mine outside because it is STILL hot here!

Working with 3 to 4 bagels at a time (depending on the size of your pot), boil the bagels for 2 minutes per side. I flip mine at the half-way mark with a large slotted skimmer.

When the bagels are finished, remove them with the slotted spoon/skimmer and place on your prepared sheet pan.

Don’t worry if a bit of water puddles off of them onto the sheet pan. This will evaporate in the hot oven.

Bake the bagels on the center rack of the preheated, 450 degree oven for 5 minutes. Then reduce the heat to 425 and bake for 15-20 more minutes. The bagels should be a very deep golden brown color.

Remove from the oven and cool bagels on racks. I like to serve mine toasted, just because I love the crunch it gives. Then I top it with my pumpkin cream cheese spread. If you have any bagels leftover, slice them, wrap them and store them in the freezer.
Follow Us:


No comments:
Post a Comment
Thank you! I love comments!